So despite how excited I've been the past two days about my desktop being back in service, today I'm blogging from my laptop. Since I featured some discontinued hostess sets in yesterday's post, I thought I'd post a few cards using a current hostess set. And since I stamped these over the summer, their pictures do not yet reside on the desktop.
The stamp set is called Playful Pieces. It is a level 3 hostess set from the 2010-2011 Idea Book & Catalog. This set is the be-all, end-all of versatile stamp sets! In the picture shown with the set in the IB&C, there are 18 completely different ideas of ways to use this set, and those don't even include some more obvious uses. It is a GREAT set! My advice is whatever you can do to host a qualifying workshop, do it; this set is worth it.
These first two cards were made for a brother and sister whose birthdays are both in July. I decided to make them similar cards using the same stamp set and layout but different stamps from the set and different colors. {Incidentally, I do the same thing for my brother and his wife, whose birthdays are just a few days apart.} I was in a bit of a rush to get the cards done, and I initially forgot to take a picture, but their mom is a friend and has stamped with me before, so she totally understood when I asked if I could have the cards back to take a picture of them. They got a little messy between their creation and the photo op, but oh well. I've got the picture, so I can remember the idea and can share it with you.

For the boy card, I stamped two of the rectangular images on scrap paper and punched them out with two different size square punches. One was wide enough, but two tall, so I trimmed off one edge with my paper snips. Then I adhered the presents to the white panel and stamped the bow at the top. Sorry, but that strip of paper across the bottom is not SU!
For the girl card, I punched my cake pieces out first using square punches and then stamped the curly-que "icing" across the top of each cake layer. {I can't remember if I've mentioned before, but Stampin' Up! now sells clear mount stamps. It was super easy to line up that "icing" in the right place using the clear mount stamp.} The cake pedestal is two separate pieces, the triangle base and the line plate; after I stamped those, I adhered the cake layers and then stamped the candles on top.
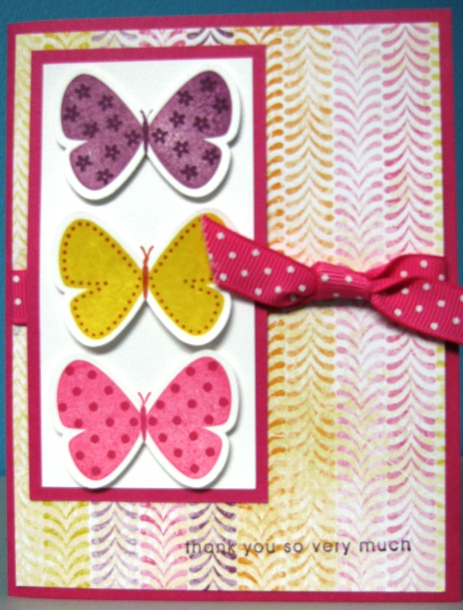
My Granny's birthday is also in July. I used the same stamp set for her card. The front is pretty simple. AJ helped make this card, and chose most of the colors.

You may know that in addition to stamping, I also decorate cakes. Granny is diabetic, and lives in another state, so with those two things in mind, I decided to decorate
this cake for her:

Now, while I do love my Granny enough to stamp 81 candles with 81 little flames, I did not have to do so, because the stamp set has a stamp with three little lines and another stamp with three little flames, so I just had to stamp it 27 times.
Sweet wishes!
.png)


.png)
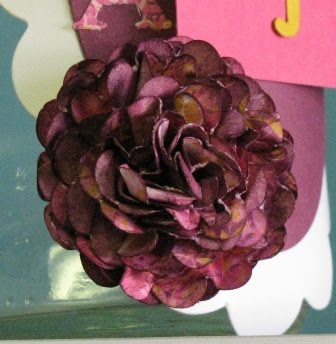
 Then here is this too-stinkin'-cute card we made too. I had seen these all over blogland and SCS. I can't tell you who the original thinker-uper was for the idea, but I'm pretty sure I got the most help from Patty Bennett's blog.
 We did one other card, I think, but I haven't got a picture of it. I made this as a gift for my one customer who subscribed to the club that month. It's a note pad.
 Sweet wishes!